11Aug
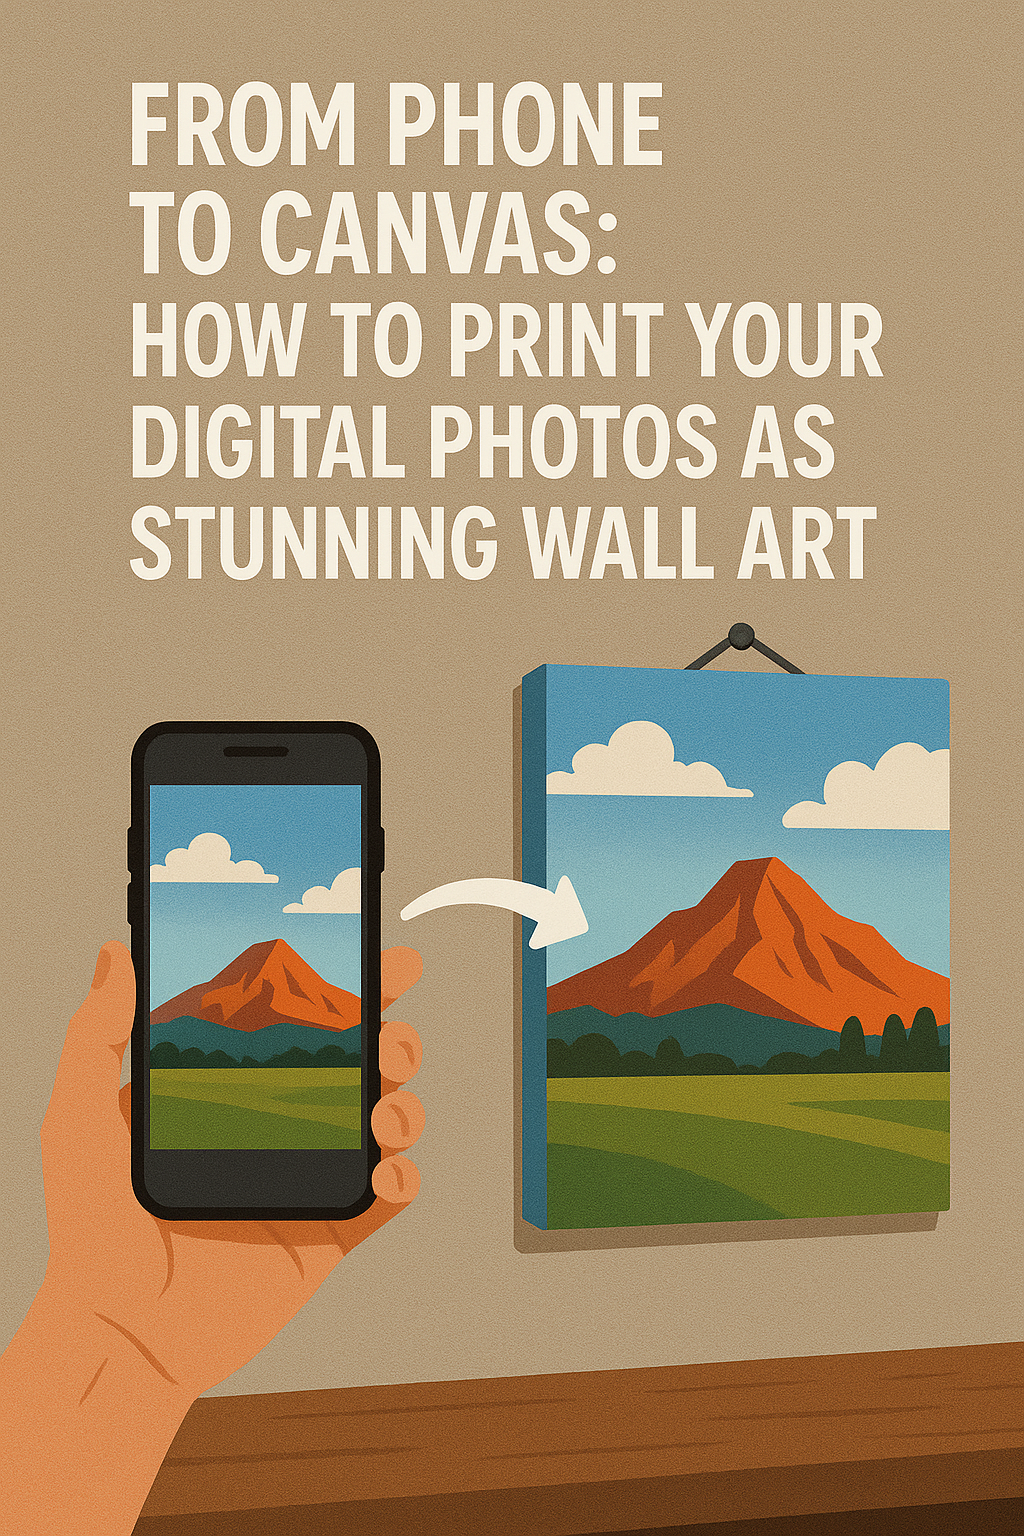
From Phone to Canvas: How to Print Your Digital Photos as Stunning Wall Art
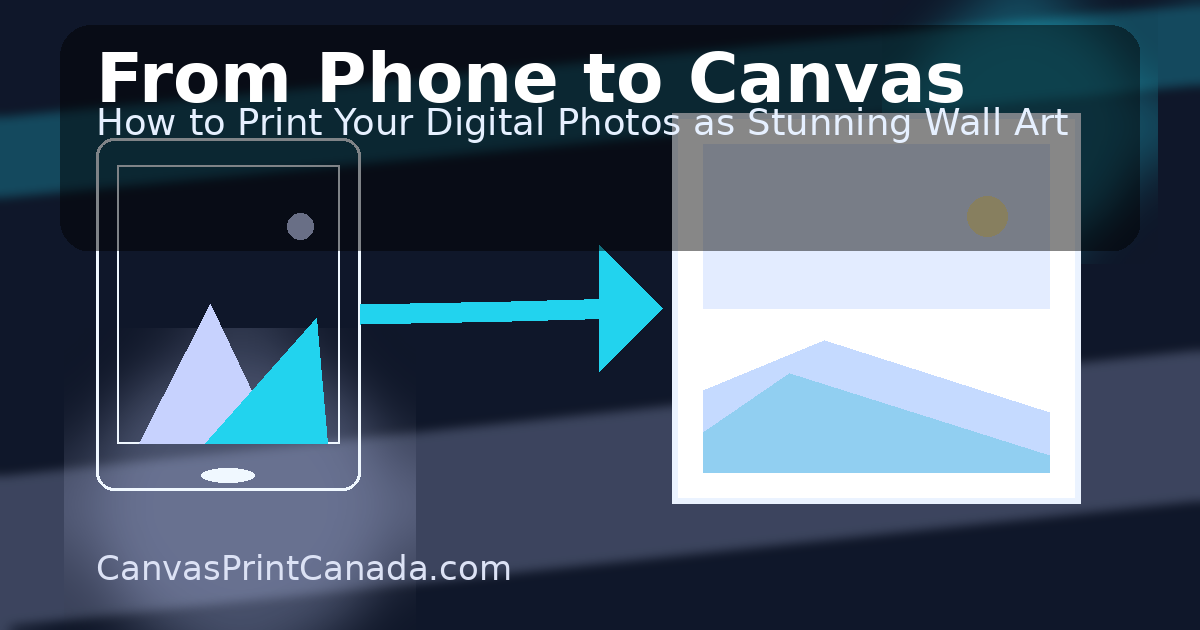
Yes—phone photos can print beautifully
Today’s phones capture plenty of resolution for wall art, especially with good light and minimal zoom. The key is prepping files for canvas print and choosing a size that flatters the image.
Step 1: Choose the right shot
- Light > everything: Window light or open shade makes the cleanest files.
- Subject & story: One clear subject reads best from across a room.
- Simplicity: Fewer background distractions = classier canvas.
Step 2: Check resolution quickly
Look at pixel size in your phone’s info panel. Common 12 MP size is 4032×3024 px.
Using the quick math from the sizing guide: at 150 PPI, that’s roughly 26.9″×20.2″; at 300 PPI, about 13.4″×10.1″. Choose a size within that comfort zone.
Step 3: Edit for print (not just social)
- Straighten & crop: Keep horizons level; crop to your target aspect ratio (e.g., 3:2 for 30″×20″).
- Exposure: Lift midtones slightly; prints look darker than backlit phones.
- Contrast: Moderate; retain shadow detail.
- Colour: Warm a touch; avoid neon filters that skew skin tones.
- Sharpen gently: Just enough to define edges; avoid crispy halos.
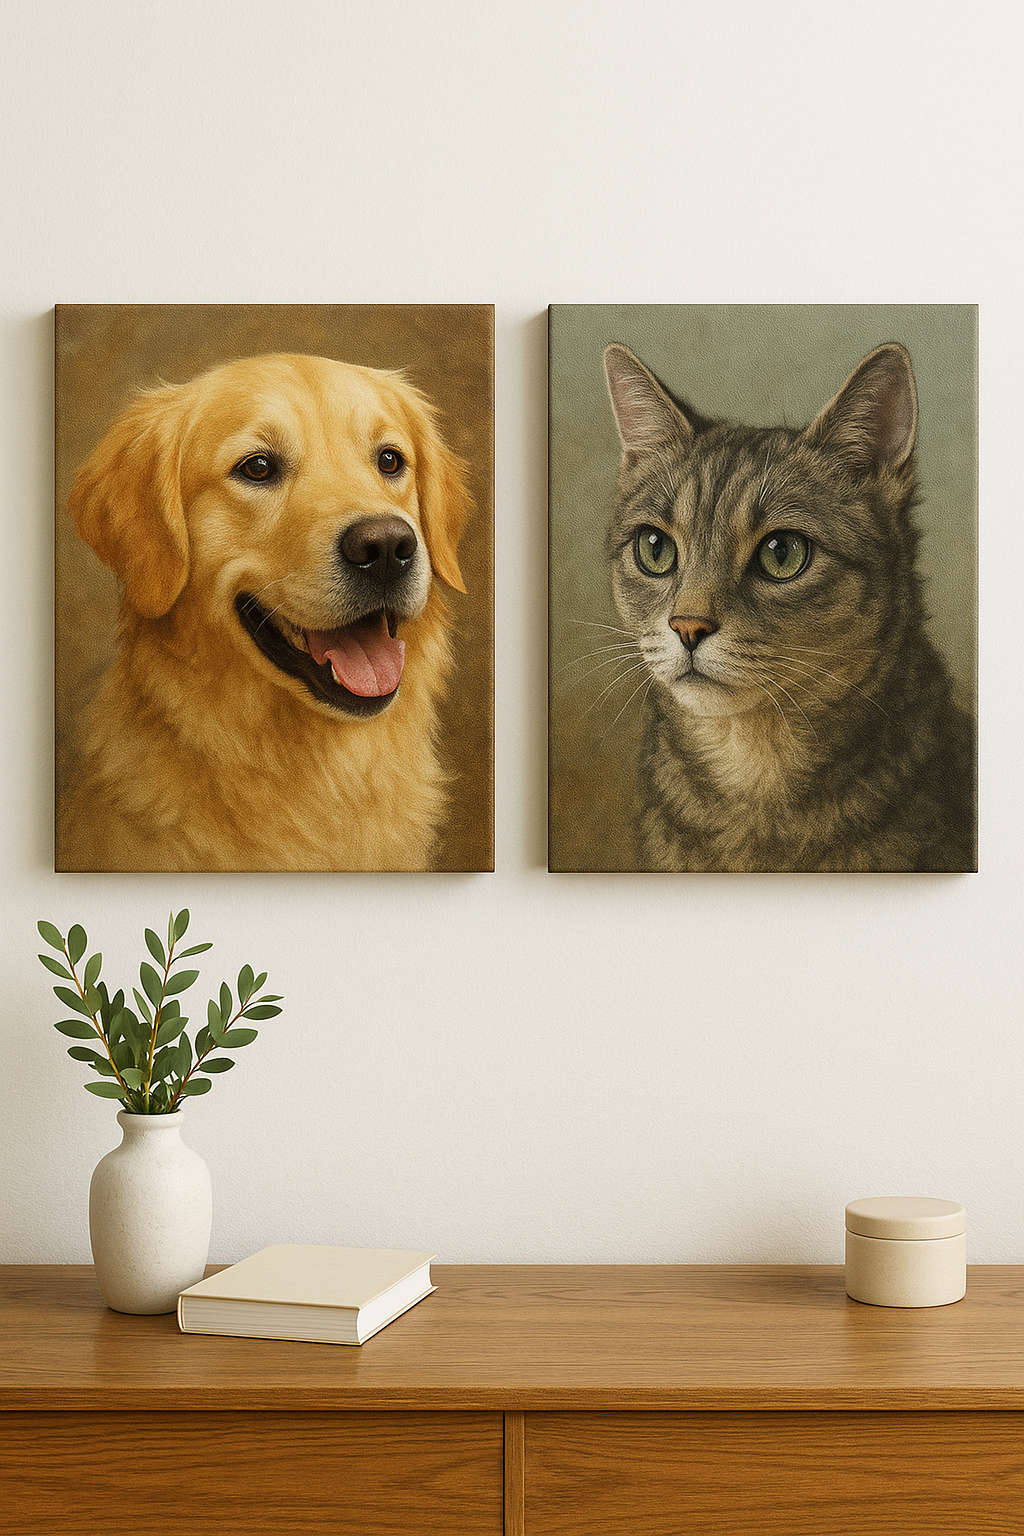
- B&W option: Timeless, and often cleaner for mixed lighting.
Step 4: Export with the right settings
- Format: JPEG (quality 80–100) or PNG for graphics/text‑heavy designs.
- Colour space: sRGB.
- Avoid: HEIC uploads if unsupported; convert to JPEG for consistent results.
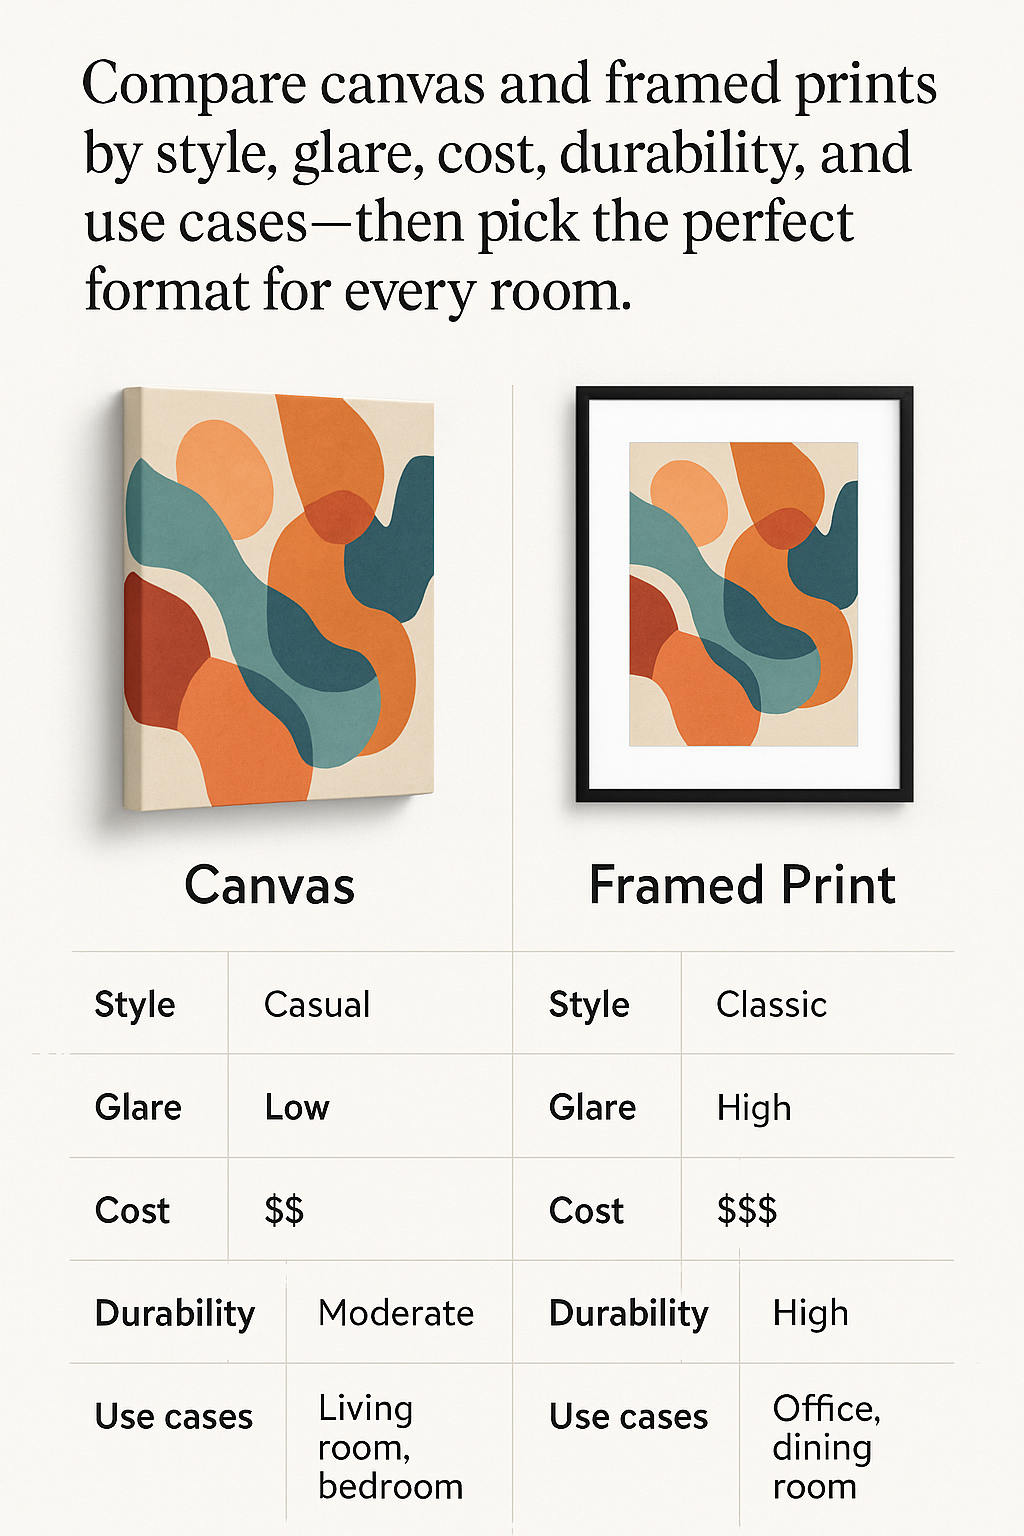
Step 5: Choose the right canvas format
- Single image: Best for portraits and landscapes with strong composition.
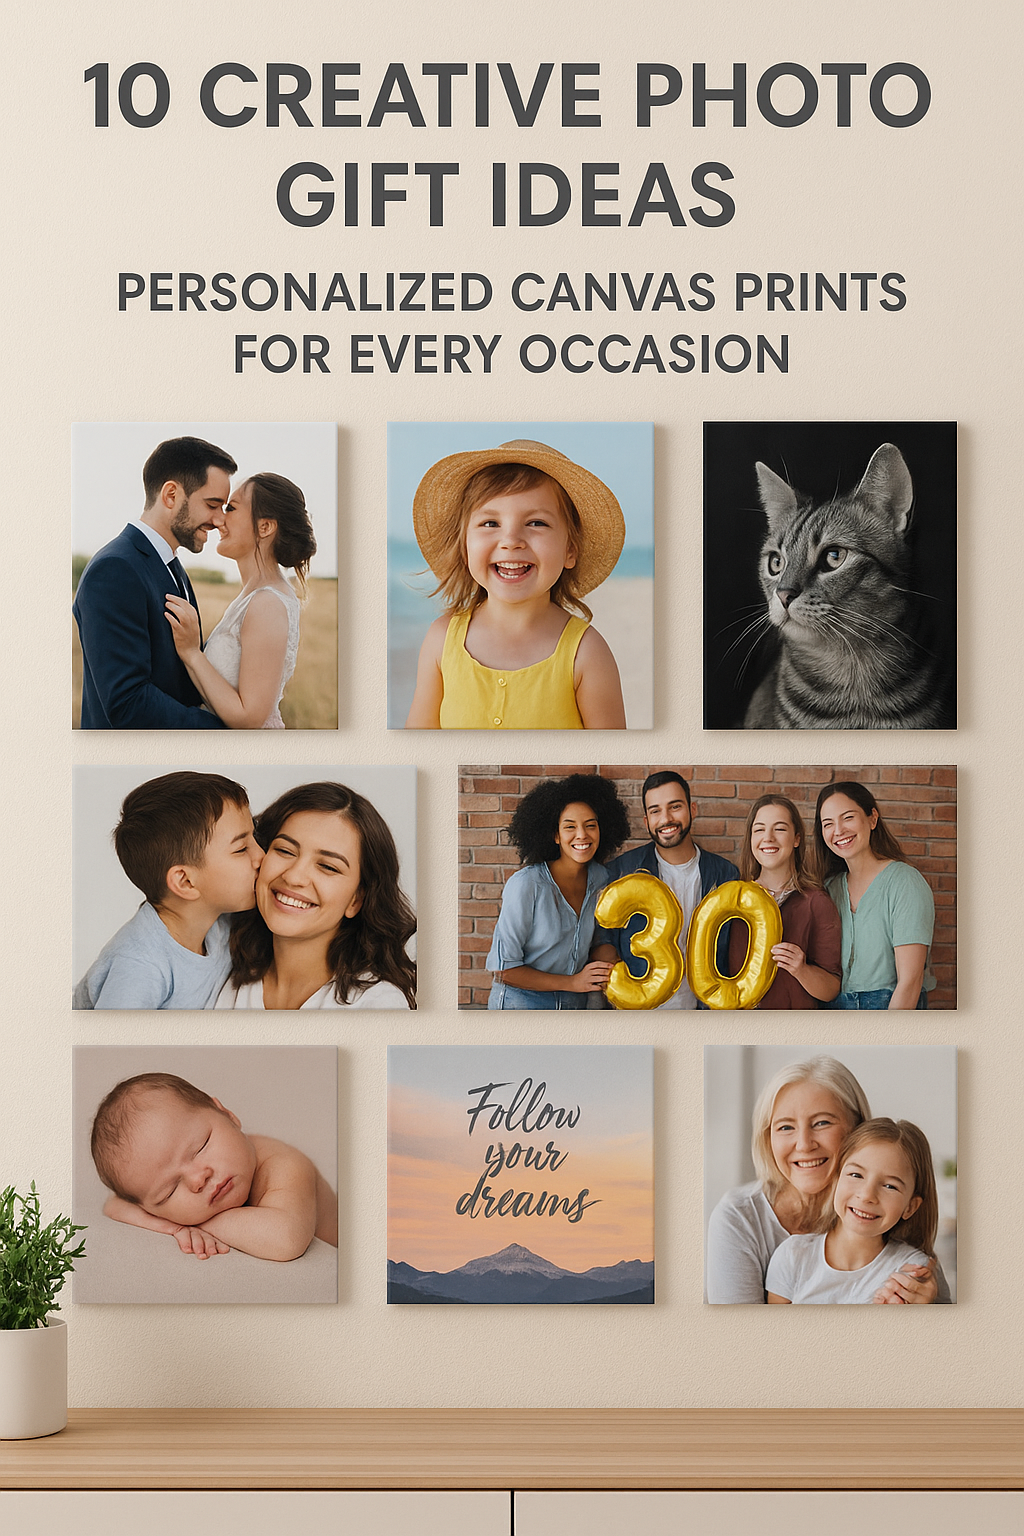
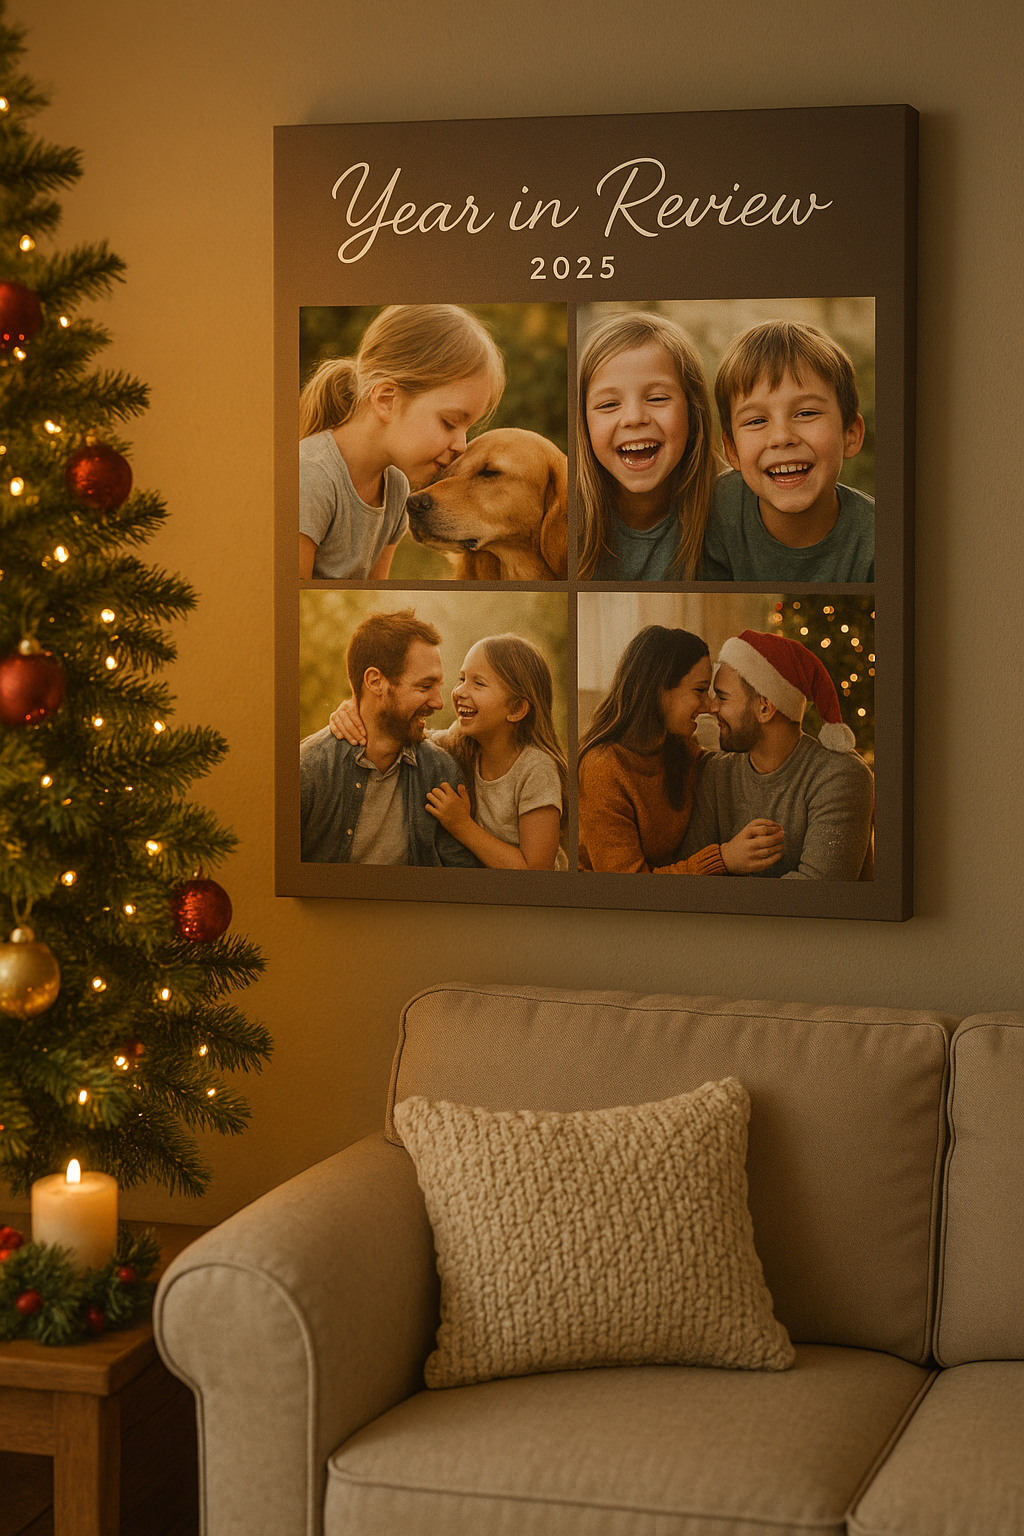
- Collage: Tell a story (year‑in‑review, trip). Limit to 4–9 images for clarity.
- Split panels: Panoramas shine in diptychs/triptychs—keep 2–3 cm gaps between panels.
Step 6: Size & place with confidence
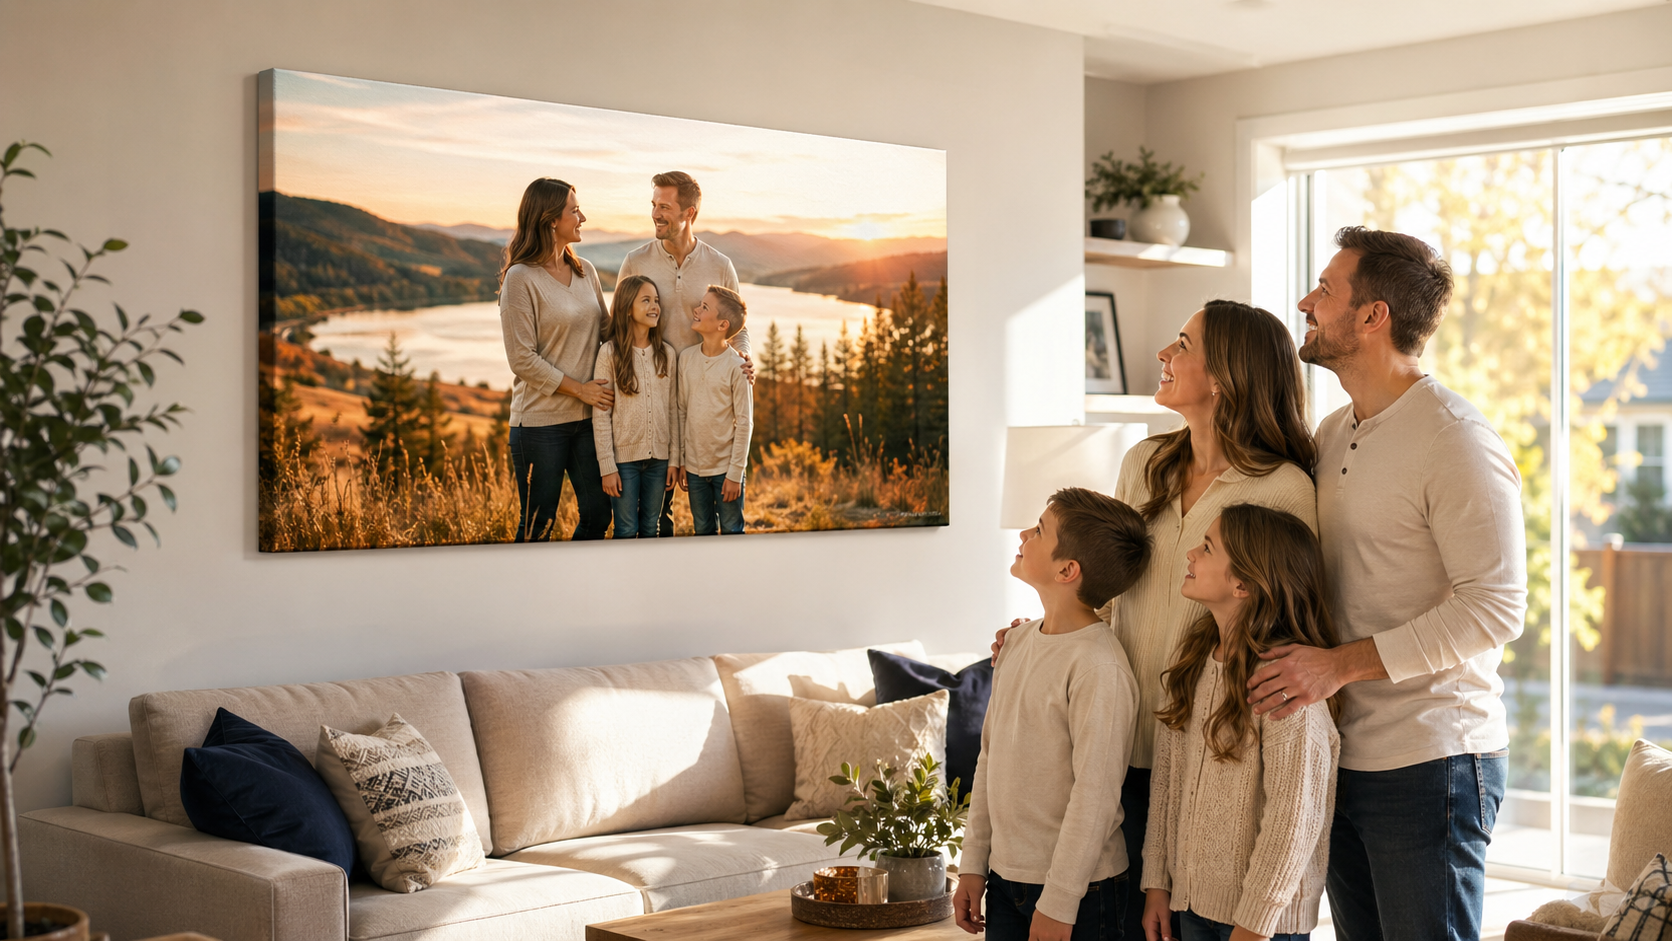
- Over sofa: 24″×36″ to 36″×48″ (or three 16″×24″).
- Over bed: 20″×30″ to 30″×40″.
- Hallway: 12″×16″ or a 3×3 grid of 12″×12″.
Keep centres at ~57″ from floor; align groups to furniture width (about ⅔ rule).
Step 7: Order & review
Upload to CanvasPrintCanada.com, preview sizes and edges, and consider a floating frame for a finished look. On delivery, check colour, sharpness, and wrap; keep corner protectors until you hang.
Troubleshooting quick fixes
- Looks soft: Choose a smaller size, increase midtone contrast slightly, or convert to B&W.
- Colours off: Re‑export in sRGB; reduce extreme saturation.
- Crop cuts too tight: Recompose with more breathing room or pick a mirrored edge wrap.
- Noisy low light: Use noise reduction lightly; print smaller; pick high‑key edits.
Pro tips you’ll actually use
- Shoot with the main (1×) lens, not digital zoom.
- Tap to expose for faces; slide up/down to refine brightness.
- Shoot a few extras; micro‑expressions matter for portraits.
- Keep edits consistent across a set for a gallery‑ready look.