Photo Collage for Home Decor – A Creative Guide to Personalizing Your Space
Decorating a home is more than just filling it with furniture and accessories; it’s about creating a space that tells your story. One of the most heartfelt and visually captivating ways to personalize your home is by incorporating photo collages into your decor. Photo collages not only celebrate cherished memories but also serve as stunning focal points that add character and warmth to any room.
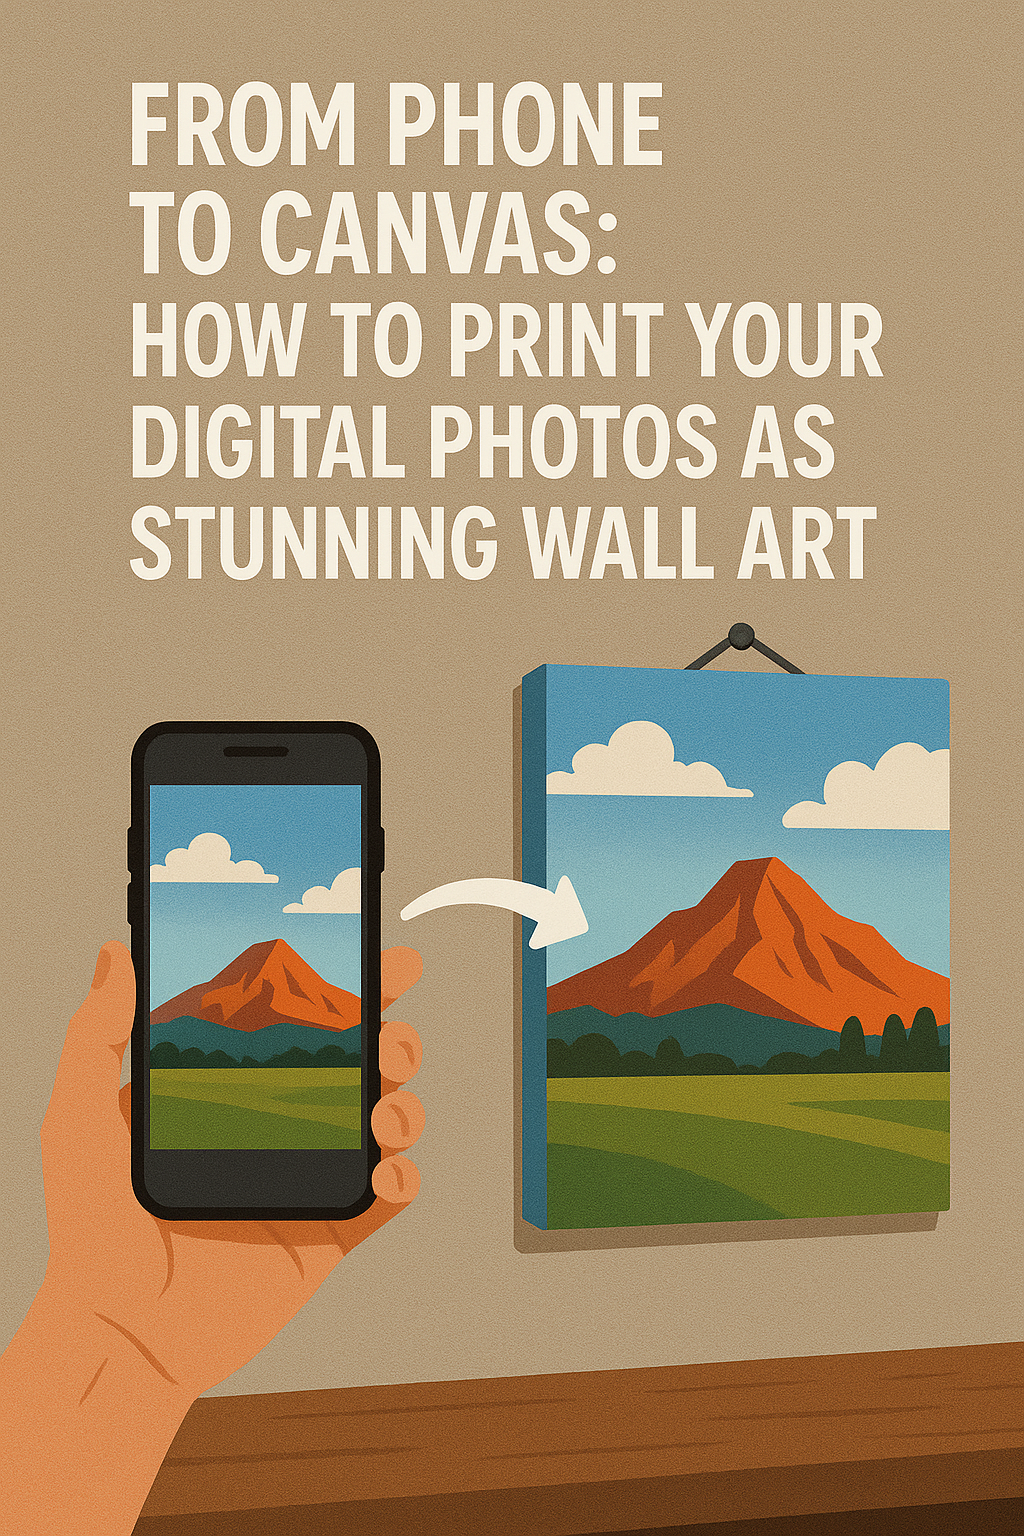
Explores the art of photo collage in home decor, offering practical tips, design ideas, and step-by-step guidance to help you transform your living space.
Why Choose a Photo Collage for Home Decor?
1. Personalization
A photo collage allows you to showcase your personality, travels, family milestones, or artistic inclinations. Unlike mass-produced wall art, it tells a unique story—your story.
2. Cost-Effective
Photo collages are an affordable way to elevate your home’s aesthetics. With digital printing options and DIY techniques, you can create professional-looking displays without breaking the bank.
3. Versatility in Design
From modern minimalism to rustic charm, photo collages can be adapted to any interior design theme. Whether you opt for a sleek gallery wall or a whimsical mixed-media display, the possibilities are endless.
4. Emotional Connection
Surrounding yourself with images of loved ones, memorable moments, and inspirational quotes fosters a sense of comfort and happiness, making your home feel truly special.

Choosing the Right Photos for Your Collage
Selecting the right photos is crucial to creating a visually appealing and meaningful collage. Here are some tips:
1. Decide on a Theme
Before selecting photos, determine the theme of your collage. Some popular themes include:
- Family and Friends – Celebrate loved ones with candid and posed shots.
- Travel Memories – Display snapshots from your adventures around the world.
- Black and White Elegance – Use monochrome photos for a classic look.
- Inspirational Quotes & Artwork – Combine photos with typography or illustrations for a creative touch.
- Seasonal or Holiday Themes – Showcase different moods for various times of the year.
2. Maintain Consistency
For a cohesive look, keep a consistent color palette or editing style. Mixing too many filters or colors can make the collage look cluttered.
3. Use High-Quality Images
Ensure your photos are high-resolution for a polished and professional appearance. Avoid pixelated or blurry images, especially for larger prints.
Creative Layout Ideas for Photo Collages
1. Grid Layout
A grid layout consists of evenly spaced photos arranged in rows and columns. This clean, symmetrical design works well for modern and minimalist decor.
2. Gallery Wall
A gallery wall is a more dynamic arrangement where different-sized frames are positioned in an artful, asymmetrical composition. This is ideal for eclectic or bohemian interiors.
3. Heart-Shaped Collage
Perfect for bedrooms and personal spaces, a heart-shaped collage is a romantic way to display treasured moments.
4. Hanging String Lights with Photos
Clip photos to string lights for a cozy and whimsical effect, great for dorm rooms or casual living spaces.
5. Hexagonal Tiles
Using hexagonal photo tiles adds a modern geometric element to your decor. These are easy to rearrange and update over time.
6. Digital Frame Collage
For a high-tech approach, a digital photo frame allows you to display a rotating slideshow of images, eliminating the need for printed photos.
How to Create a DIY Photo Collage
Step 1: Gather Your Materials
You will need:
- Printed photos
- Picture frames or canvas boards
- Adhesives (double-sided tape, glue, or push pins)
- Scissors or a cutter
- Measuring tape and level for alignment
- Optional: Decorative elements such as stickers, quotes, or lights
Step 2: Plan Your Layout
Before affixing anything to the wall, lay your photos out on the floor to test different arrangements. Take a picture of the arrangement for reference.
Step 3: Prepare the Surface
Ensure your wall or frame surface is clean and dry to help the adhesives stick properly.
Step 4: Mount Your Photos
Use tape, clips, or frames to secure your photos. If you’re creating a wall collage, use a level to keep everything straight.
Step 5: Add Finishing Touches
Enhance your collage with fairy lights, dried flowers, or decorative stickers to add texture and depth.
Where to Place Your Photo Collage
1. Living Room
Make a statement with a gallery wall above the sofa or fireplace. This serves as a conversation starter for guests.
2. Bedroom
Create an intimate and cozy ambiance by displaying cherished personal memories above your bed or on a side wall.
3. Hallway or Staircase
Turn an empty hallway into a storytelling space by showcasing a chronological photo timeline of your family’s journey.
4. Home Office
Keep yourself inspired by decorating your workspace with motivational quotes, achievements, and happy memories.
5. Kids’ Room
A playful collage featuring baby photos, artwork, and fun moments makes for an endearing addition to a child’s room.
Maintaining and Updating Your Photo Collage
To keep your collage looking fresh and vibrant:
- Dust frames and surfaces regularly.
- Avoid direct sunlight to prevent fading.
- Update photos periodically to reflect new memories and experiences.
- Use removable adhesives if you like to change layouts frequently.
A photo collage is more than just a decorative element; it’s a powerful way to infuse your home with personality, warmth, and meaning. Whether you choose a sleek, modern arrangement or a more whimsical and eclectic display, the key is to create a collage that resonates with your personal style. With a little creativity and effort, you can transform any space into a reflection of your cherished memories and artistic vision.
Start designing your perfect photo collage today at Canvas Prints Canada and give your home a touch of uniqueness that no store-bought decor can offer!