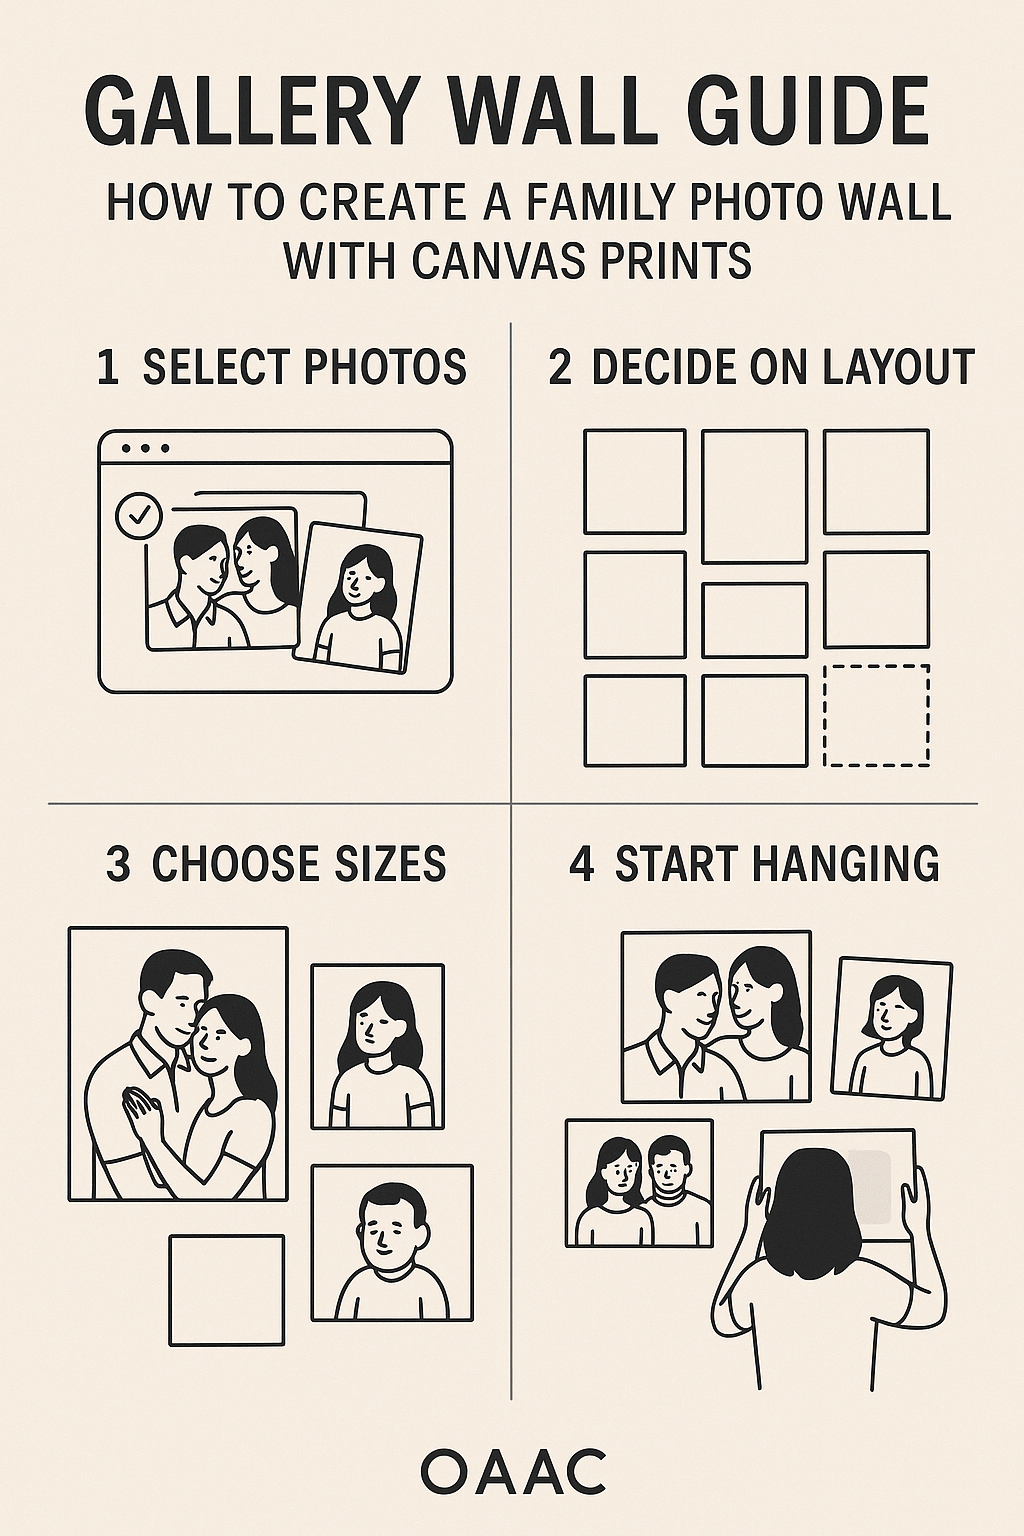
Gallery Wall Guide: How to Create a Family Photo Wall with Canvas Prints
Start with a story (not sizes)
Decide what you’re saying: “Our year,” “Our travels,” or “Everyday us.” Then pick 8–12 photos that support that story—mix wide scenes, mediums, and a few close‑ups.
Choose a palette
Pull two dominant colours from your room (rug, sofa, throw) and one accent. Edit photos to echo those tones (all warm, or all black‑and‑white) for cohesion.
Pick a layout recipe
- Classic grid: 3×3 or 4×3 of same size (e.g., nine 12″×12″).
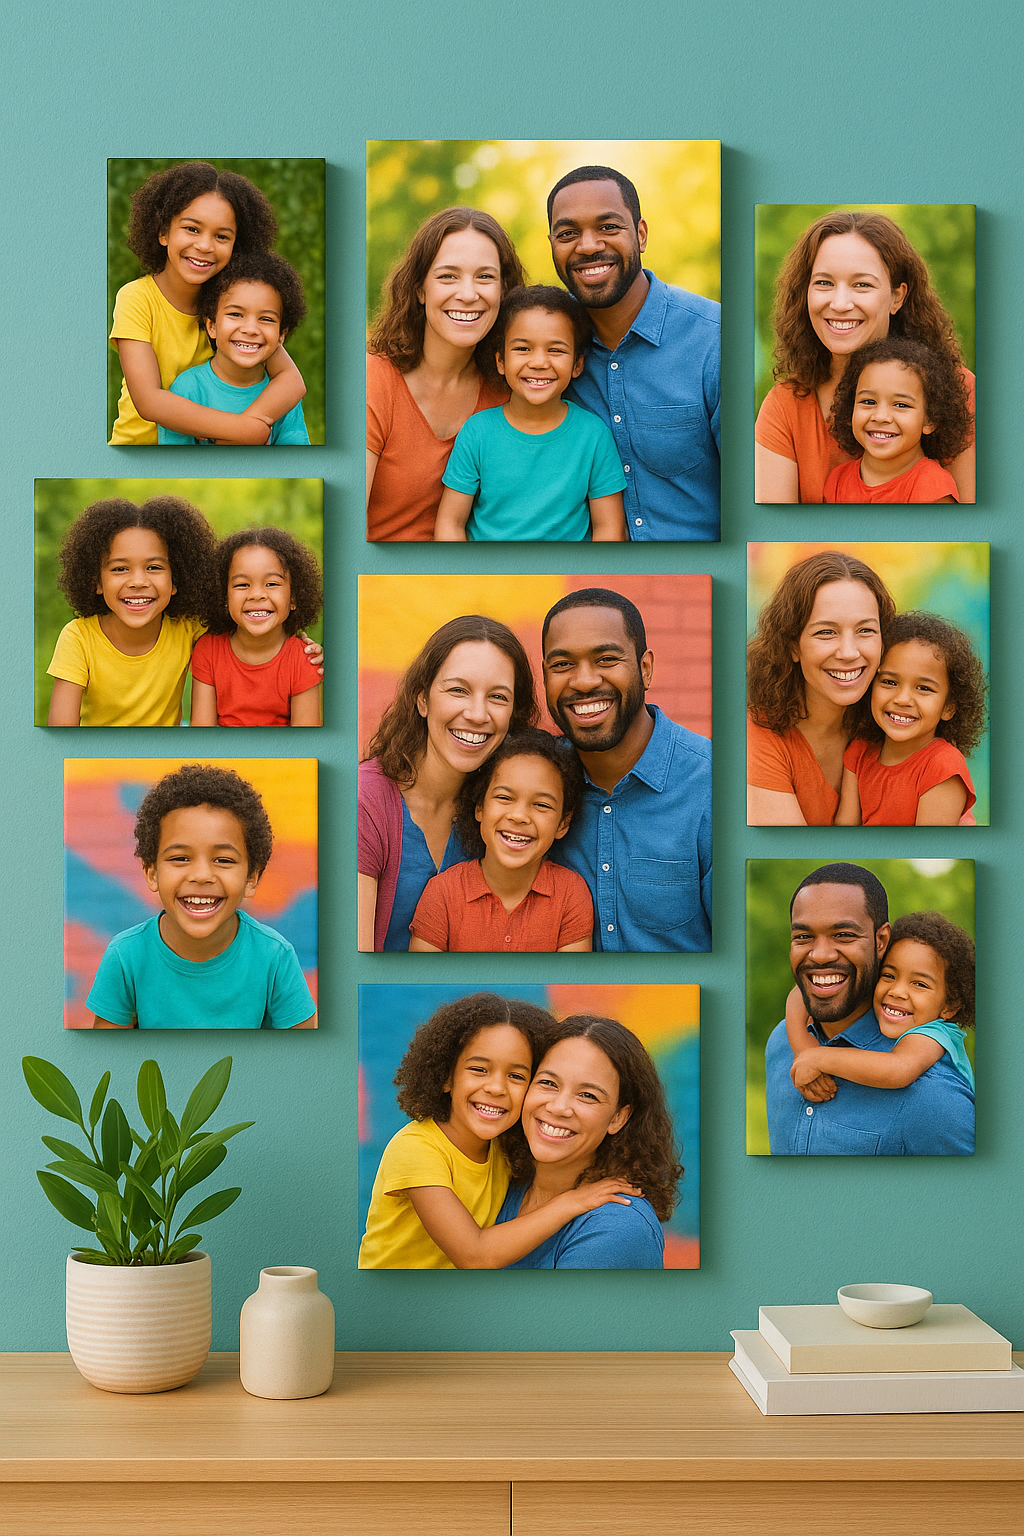
- Organic cluster: One large anchor (24″×36″) plus medium (16″×20″) and small (12″×16″) pieces around it.
- Linear rail: A neat row of 16″×20″ along a hallway or over a long console.
Spacing: Keep a consistent 2–3 cm (≈1″) gap. Consistency beats perfection.
Measure once, tape twice
- Map the outer rectangle first: width, height, and centre point (at ~57″ from floor).
- Cut kraft paper to each canvas size and tape them up to test placement.
- Adjust until the overall outline feels balanced to the furniture below.
Hanging hardware and height
- Use proper wall anchors for drywall; check weight ratings.
- For stairs, keep the bottom edges aligned to the stair angle.
- Over a sofa, the cluster width should be ~⅔ the sofa width; bottom row ~8–10″ above the back.
Photo selection rules that never fail
- Mix distances: 60% medium shots, 20% wide scenes, 20% close‑ups.
- Avoid too many “everyone shoulders‑to‑shoulders” poses; candid laughs add life.
- Keep horizons straight; crop thoughtfully (no half‑hands).
- Black‑and‑white is a cheat code for mixed lighting and outfits.
Frames or no frames?
Canvas looks complete without glass. Add a floating frame if you want definition or need to echo wood tones in the room (black for modern, oak/walnut for warmth).
Maintenance
Dust quarterly with a dry microfiber cloth. If you edit the gallery over time, keep gaps and edge heights consistent so additions feel intentional.
Step‑by‑step checklist
- Choose story + palette.
- Select 8–12 photos; apply consistent edits.
- Pick a layout recipe; list final sizes.
- Tape paper templates; refine positioning.
- Hang, level, and enjoy.
Ready to build?
Upload your images to CanvasPrintCanada.com, preview sizes, and order matching canvases (or add floaters for a tailored look). Your wall will feel like your family—alive, evolving, and uniquely yours.